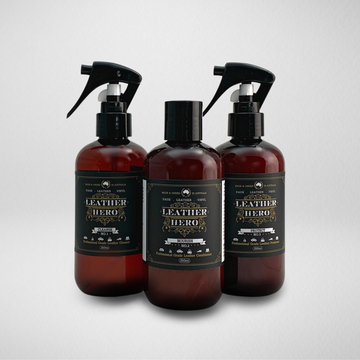
How to use the Aniline Restoration Kit
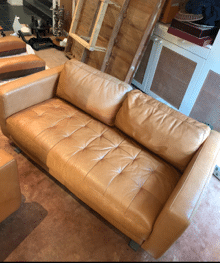
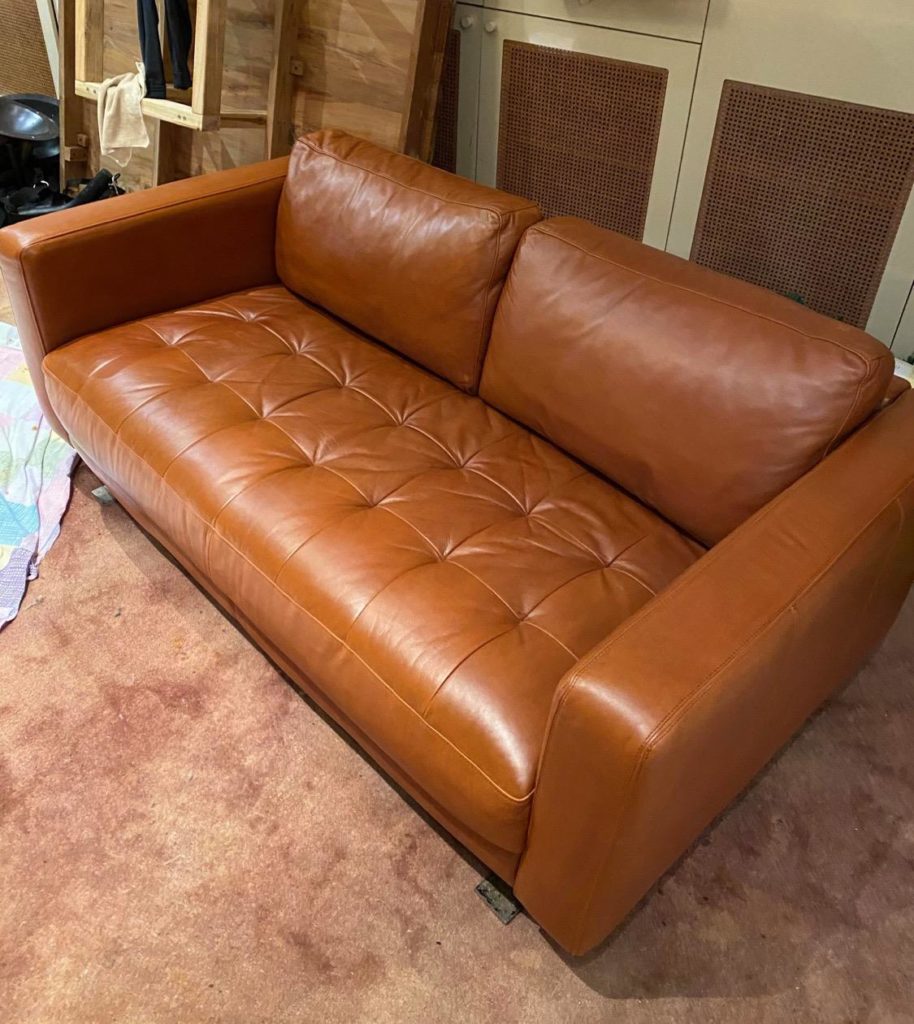
You don’t have to live with a solid yet weary-looking leather lounge occupying the heart of your home. With the right products, you can dramatically improve how it looks whilst extending its viable life. So whether you love the comfort level, don’t want to contribute to landfill or don’t want to splash out on new furniture, this may be your next DIY restoration.
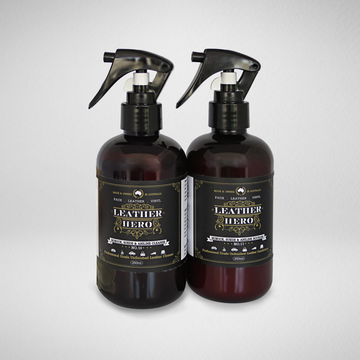
3 steps
1) Clean and prep the surface using Spot & Prep (No.4)
2) Apply Aniline Dye Stain (No.29)
3) Apply 1 or more layers of Colour Restoration Cream (No.32)
Optional: Apply protective Topcoat (No.7) (sold separately)
Accessories
Accessories are available separately.
- White microfibre cloths
- Scrubbing brush
- Application sponges
- Drop sheets
no tools & no special skills


Step 1
Lightly dampen a microfibre cloth
Pour on some Spot & Prep (No.4)
Working quickly, wipe over all areas
Use a brush to agitate soiling from the grain giving extra attention and cleaner to any marks and greasy areas


step 2
Load some dye onto the sponge; squeeze to incorporate
Apply to one area at a time using uniform strokes
Use firm pressure to push the dye into the structure of the leather
Allow to dry then determine if or where additional dye is needed


step 3
Pour some cream onto the sponge; squeeze to incorporate
Apply to one area at a time using uniform strokes
For the first coat, work into the grain, seams and crevices and finish with long even strokes or a cross-hatch pattern
Allow drying
Apply additional coats as needed
When dry, an optional step is to buff the coatings

A beautiful makeover
When it comes to colour and finish, this kit puts back what the years have taken away. The colour has depth, is unified and glows with a luminous quality. The protective finish is refreshed and feels good to touch. You can control the level of shine using Dulling Agent (No.30) (sold separately). Stains and surface imperfections are lightly covered and subtley blended. Maintain a natural look whilst smoothing the effects of time.
Get a feel for it
With each step and each product, start at the back or sides. This gives you a chance to familiarize yourself with how your leather receives them before moving to the front face of your furniture.
Clean & Prep
Together with a scrubbing brush and microfibre cloth, Spot & Prep (No.4) removes waxes, silicones, heavy soiling, marks and surface grease. Cleaning aniline and semi-aniline leathers can be confusing because the cleaner sinks into the leather immediately and very little soiling is visible on the cleaning cloth. Just the same, it is important to thoroughly clean all areas before commencing colour work as any remaining contaminants can prevent even coverage and compromise the longevity of results.
- You may notice that the cleaning step reveals the true condition of the leather and any original coatings as scratches and porosity show as darker areas.
- Don’t over work marks and stains. Harsh cleaning and had rubbing can lead to dents and damage. Stains in aniline leathers tend to be permanent and will not come out. There's no benefit to saturating the leather or rubbing extra hard.
Find detailed information about Spot & Prep (No.4) here.
Aniline dye stain
Whilst pigments (paints) tend to be UV stable, dyes are less so. If your once rich tan lounge is now many shades of grey, it's because the sun has bleached the original dyes.
Using a shade that is as close as possible to the original colour or up to a couple of shades darker, the dye stain is sponged onto the leather, one area at a time using firm, uniform strokes. It penetrates into the leather and due to the natural, fibrous nature of leather, there may be irregular absorption of the dye resulting in a variable or somewhat uneven result. Don’t be alarmed. This step is about re-balancing the faded areas with the non-faded areas and about creating a richer base colour, which gives depth the final result.
- If your leather has dark stains, select a colour that is between the original colour and the dark colours. It is possible to go darker in some cases. Extra dye stain may be needed to ensure a deep even based tone.
- If needed, additional applications can be applied to further strengthen or balance the colour.
- If the dye stain in your kit is more concentrated (darker) than your job requires, it can be diluted with water to produce a lighter tint.
- If the colour is not quite right for your job, colours can be mixed to create new ones. Aniline Dye Stain (No.29) is sold separately in a variety of sizes.
- Dye stain can be applied by hand or by spray gun.
Find detailed infomation about Aniline Dye Stain (No.29) here.
Colour Cream
Both beautiful and practical, Colour Restoration Cream (No.32) is applied by sponge in layers. The colour looks lighter when wet and dries darker. Don’t worry if your first coat is not perfectly even. The second and subsequent coats work wonders. It can be applied generously for more coverage or in thin coats for a more sheer effect.
Leather Hero's unique formulation:
- Leather Paints provide a degree of coverage, lightly concealing blemishes, fading and stains.
- Aniline Dyes provide a luminous quality to the colour echoing the original dyed or ‘natural leather’ appearance.
- Resins hold the colour, bond to the surface and provide a protective finish.
Optional additives:
- Dulling Agent (No.30) can be added to flatten the level of shine
- Topcoat (No.7) can be mixed into your last 1-2 coats (approx 10-20% topcoat) and/or applied over the colour cream to maximise the durability of your job.
Find detailed infomation about Colour Restoration Cream (No.32) here.


Now it's your turn
Restore your leather with this kit
Available in 13 colours, 4 sizes and all products sold separately.
Drying time & After care
Coatings are touch dry in 1 hours, dry in 2 days and cured in 14 days. Allow at least 2 days before using and complete drying before wiping with water or applying products.
Good leather care includes a 3 monthly clean, conditon and protection treatment. Now that your aniline leather has protective coatings, you can choose from 3 different conditioners/kits.
- Nubuck, Suede & Aniline Care Kit: this kit is the lightest combination. It is designed to not add extra shine or cause darkening.
- Leather Care Kit: this all rounder provides a cleaner, conditioner and protector suitable for coated leathers.
- Waxy Care Kit - this kit comes with a cleaner plus your choice of matte or shiny waxy conditioner.
Protect (No.3) is an anti-soiling treatment, inhibits stains, makes cleaning easier and has a UV barrier to help prevent fading. It is available separately. In rare cases, aniline leather may darken. Test before use.
Before & After photos
Don’t forget to take a good set of ‘before’ and ‘after’ shots. We love to see them, so please send them to us at info@leatherhero.com.au or to 0490 796 012.
See examples of customer jobs completed using this kit in the Customer Before & After Gallery.


Aniline Restoration Kit - Aniline Ember
- Description
- Tab
- Info
Aniline Restoration Kit
Designed with aniline sofas in mind, this kit boosts and balances faded colour, subtly blends the appearance of stains and leaves a pleasing semi-aniline-like finish on the surface. This clever Australian-made finishing system lets you press the reset button on your aged aniline leather.
- Sheer coverage allows the natural features of leather remain visible
- Marks, stains, scuffs and scratches are lightly concealed
- Flexible coating with excellent adhesion properties
- Layering creates great depth of colour and vibrance
- The satin finish looks and feels refreshed and won't rub off onto clothing
- Air dries in approx. 1hr
- Apply by sponge
- Use a matching colour or one that is slightly darker than the original
- Easy to use, all-in-one wipe on colour refresher
- Ideal for same or similar colour restorations
- Unifies colour, refreshes worn coatings, and looks clean and fresh
- Not suitable for use over leather filler
- Water-based, fast drying, Australian made and used by professionals
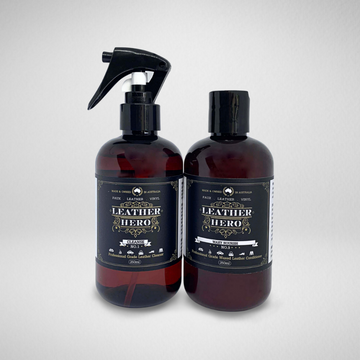
3 simple steps
Restoring aniline leathers requires a balancing act. Typically, older aniline sofas display a combination of UV fading, stains, and coatings wear and tear. Our formulations have been developed to deliver a balance on all priorities:
-
First, surface prep removes surface soiling, open the pours for maximum adhesion of coatings and can help to minimise stains
-
Next, Dye Stain penetrates, boosts and balances the overall colour of the leather
-
Lastly, Colour Restoration Cream contributes a semi-opaque, self-sealing coating that lightly conceals marks, unifies colour and leaves a beautiful, protective finish on the surface
No special equipment
Do it yourself and save money. This kit assembles the products used by professionals to restore aniline leathers. No special equipment is required and, after protecting your floors, you can work on your furniture right where it is. It can also be used to restore handbags and apparel.
Extra durability
For maximise durability of coatings, 2 coats of clear topcoat can be applied. Satin finish is ideal for this.
Colour & sheen
Choose from 13 popular colours. Sample Pots are great for colour testing. They contain leather paint which is a different product but the colours are the same.
The finish (sheen or shine level) is satin. If you'd like a flatter finish, add Dulling Agent (No.30) to the Colour Restoration Cream (No.32). If you'd like a shinier finish, add Topcoat Gloss or High Gloss then apply a couple of coats over your colour work. Sold separately.
Want to know more about the products? Read through the info on this page and the individual product pages then head to the How To library to learn more about choosing your colour and how to use the products.
Need accessories for your job? Here they are.
Want to see what other customers have done with this kit? Head to the Customer Before & After gallery.
Instructions: Print the Directions for Use, Tips and Details ![]()
This content type will accept rich text to help with adding styles and links to additional pages or content. Use this to add supplementary information to help your buyers.
You can use product metafields to assign content to this tab that is unique to an individual product. Use tabs to highlight unique features, sizing information, or other sales information.